
This article describes how to create a "Hello World" java program using Eclipse IDE. This program will print "Hello World" in the console.
Technologies used in this article :
If JDK or Java is not installed in your computer, then follow the below step by step guidelines
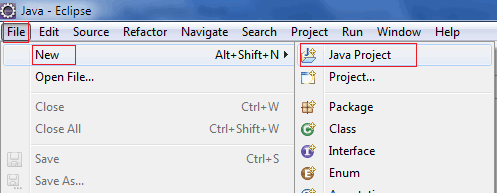
1. Create Java Project
Select from the menu File --> New --> Java Project.
Enter "HelloWorld" as the project name. Keep rest of the settings as it is as shown in the following screenshot.
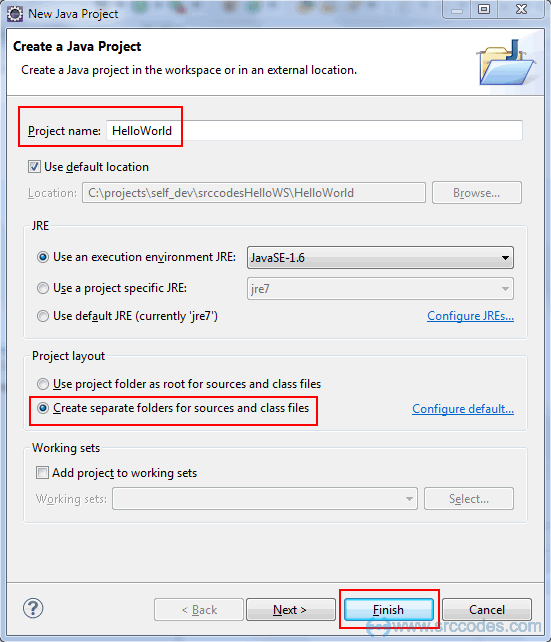
Click "Finish" button and Eclipse IDE will generate the java project automatically.
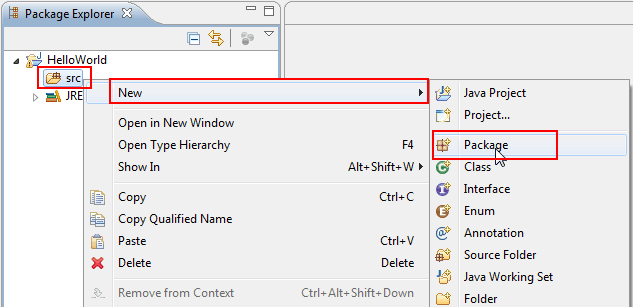
2. Create Java Package
Right click on 'src' folder and select from context menu New --> Package.
Write 'com.srccodes.example' in the 'Name' field and click "Finish" button.

3. Create Java Class
Right click on 'com.srccodes.example' package and select from context menu New --> Class.

Write "HelloWorld" in the 'Name' field and select the check-box for 'public static void main(String[] args)'.
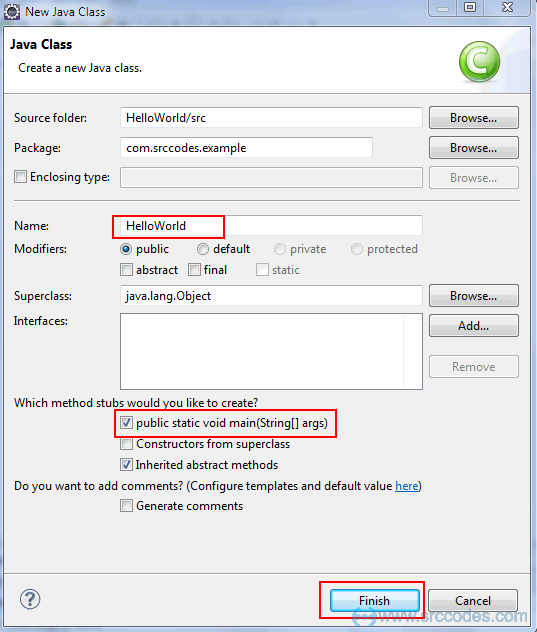
Click "Finish" button. Eclipse will generate a java class and open the same in the java editor as shown below.
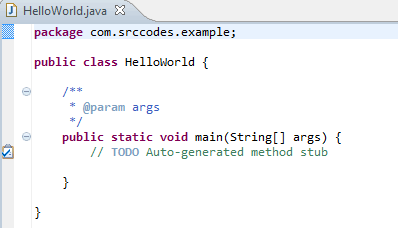
4. Write Java Code
Edit the generated 'HelloWord' java class as per the following code.
File: HelloWorld.java
package com.srccodes.example;

public class HelloWorld {

    /**
     * @param args
     */
    public static void main(String[] args) {
        System.out.println("Hello World");
    }

}
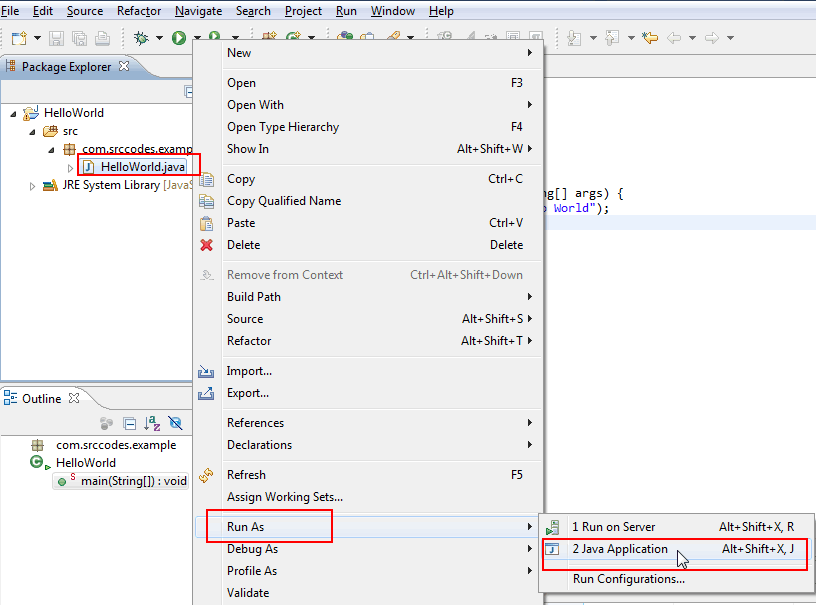
5. Run Your Code
Right click on 'HelloWorld.java' and select from context menu 'Run As' --> 'Java Application'.
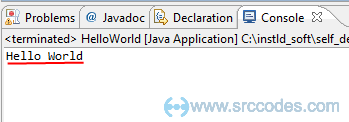
6. Console Output
Your code will print 'Hello World' in the eclipse console.
Download SrcCode
All code samples shown in this post are available in the following link Java-hello-world-example.zip


Comments