Raspberry Pi is a low cost, credit-card sized and fastest selling personal computer. In this article, we'll install and configure Oracle Java ME Embedded on a Raspberry Pi.
What is a Raspberry Pi?
The Raspberry Pi is a low cost, credit-card sized computer that plugs into a computer monitor or TV, and uses a standard keyboard and mouse. It is a capable little device that enables people of all ages to explore computing, and to learn how to program in languages like Scratch and Python. It's capable of doing everything you'd expect a desktop computer to do, from browsing the internet and playing high-definition video, to making spreadsheets, word-processing, and playing games.
What's more, the Raspberry Pi has the ability to interact with the outside world, and has been used in a wide array of digital maker projects, from music machines and parent detectors to weather stations and tweeting birdhouses with infra-red cameras. We want to see the Raspberry Pi being used by kids all over the world to learn to program and understand how computers work.
Tools and Technologies used in this article :
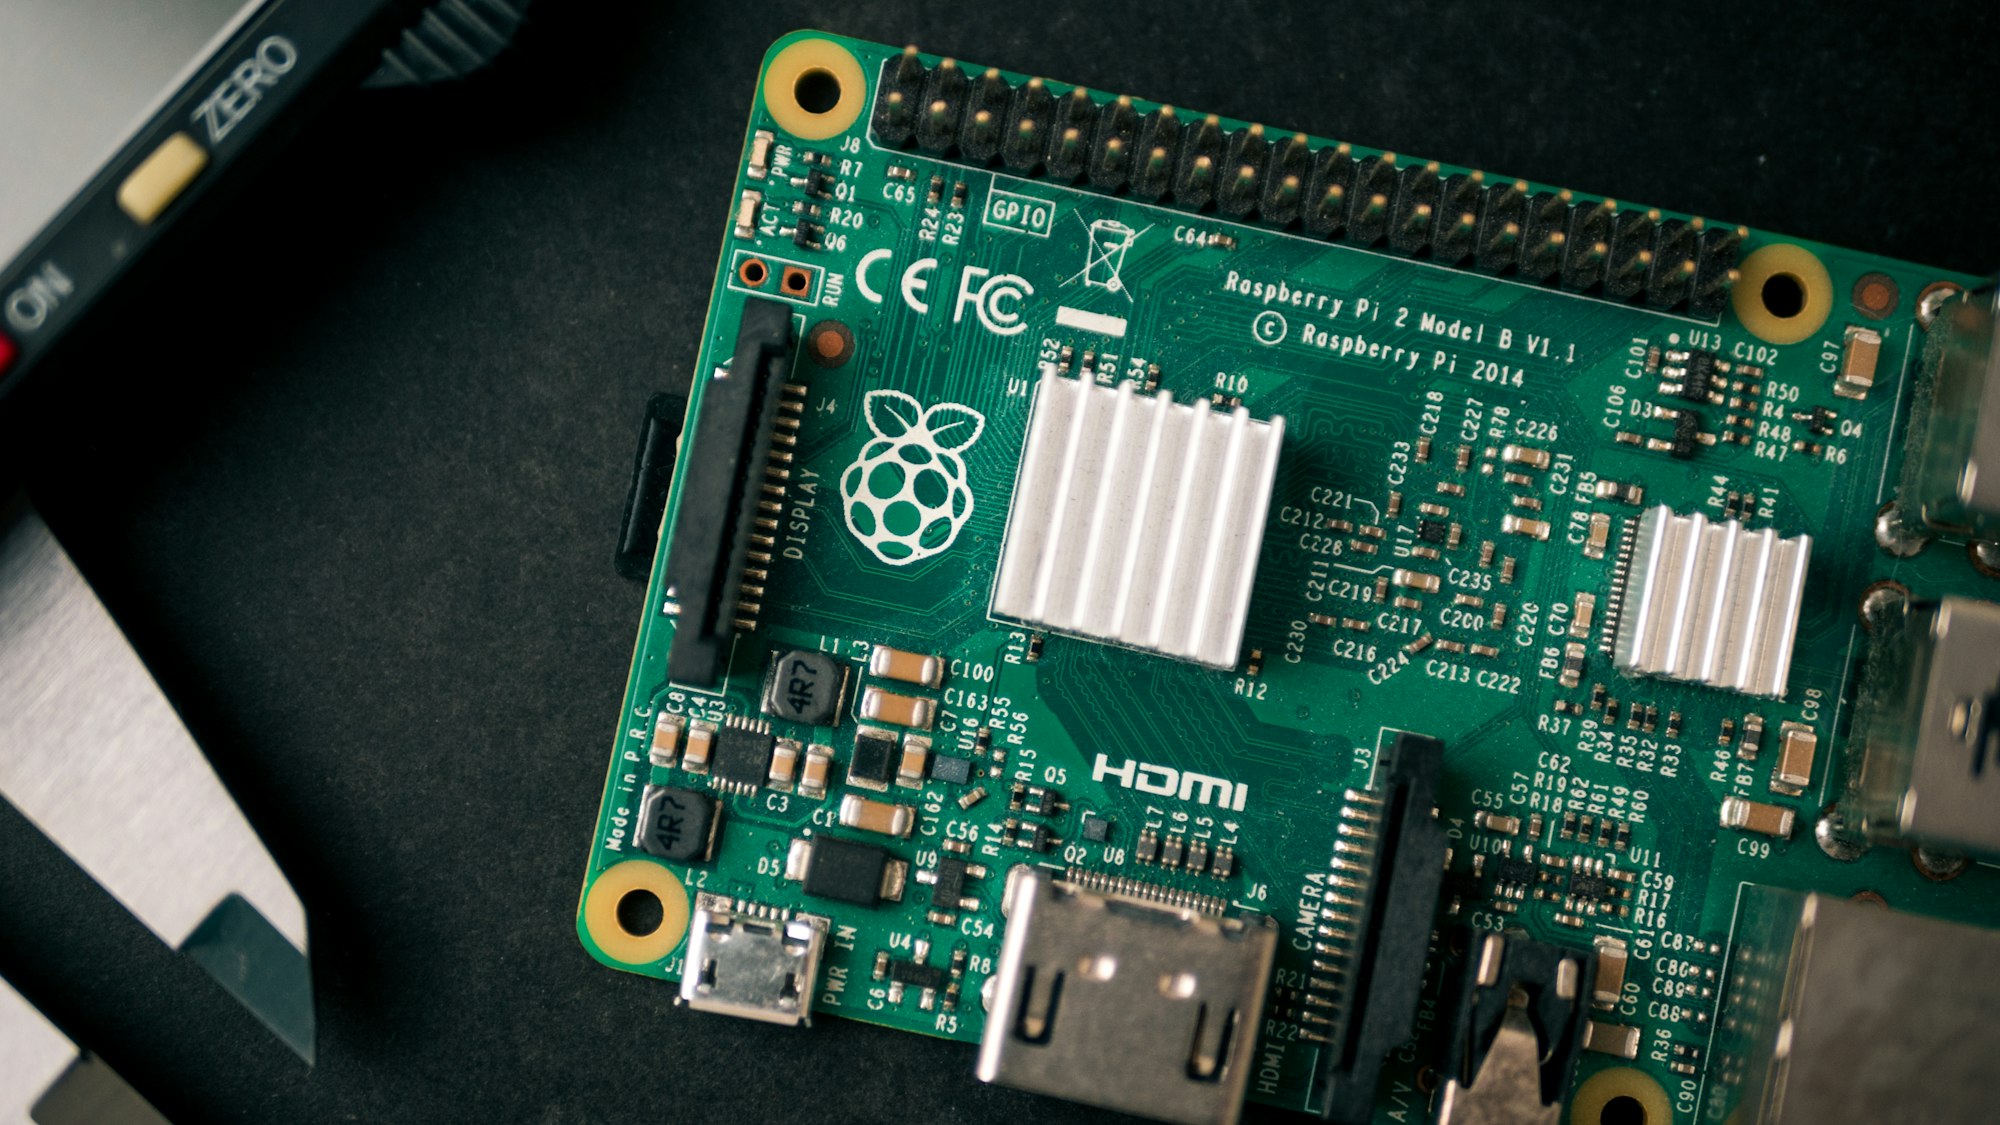
- Raspberry Pi 1 Model B+
- Raspbian
- Oracle Java ME Embedded 8 for Raspberry Pi (ARM 11/Linux)
- JDK 8
- WinSCP
- Windows 7 OS
Note: Oracle JRE and JDK by default come with all the latest distributions of Raspbian. If it is not available in your Raspbian, then install using following command:
sudo apt-get update && sudo apt-get install oracle-java8-jdk
Download Oracle Java ME Embedded
Download Oracle Java ME Embedded 8 for Raspberry Pi (ARM 11/Linux) and extract to a folder (say 'C:\oracle-jmee-8-1-rr-raspberrypi-linux-bin').
Java ME Embedded 8 contains following folders:
- appdb: Application and configuration directory.
- bin: contains scripts to install, run, list and remove IMlets and start AMS (Application Management System), jwc_properties.ini to change Java configuration and runtime behaviour.
- legal: contains terms of different licenses and Oracle legal notices.
- lib: contains java class files required for compilation of IMlets.
- util: contains proxy.jar to start Developer Agent program on the desktop.
Install and Configure Java ME on Raspberry Pi
a. Open WinSCP and connect to your Raspberry Pi.

b. Create a directory (say '/home/pi/javame') for Java ME.

c. Upload appdb and bin folders to Pi from local.

d. Click open Open session in PuTTY (Ctrl+P) or from Menu "Commands" --> "Open in PuTTy".

e. Login to Pi using PuTTY.

f. Change directory to javame/bin and check permissions of all the scripts.
pi@mypi ~ $ cd javame/bin
pi@mypi ~/javame/bin $ ls -l
total 4748
-rw-r--r-- 1 pi pi     376 Dec 23 22:08 fix_permission.sh
-rw-r--r-- 1 pi pi     252 Dec 23 22:08 installMidlet.sh
-rw-r--r-- 1 pi pi    7300 Dec 23 22:08 jwc_properties.ini
-rw-r--r-- 1 pi pi     152 Dec 23 22:08 listMidlets.sh
-rw-r--r-- 1 pi pi     232 Dec 23 22:08 removeMidlet.sh
-rw-r--r-- 1 pi pi 4823912 Dec 23 22:08 runMidlet
-rw-r--r-- 1 pi pi     164 Dec 23 22:08 run.sh
-rw-r--r-- 1 pi pi     321 Dec 23 22:08 runSuite.sh
-rw-r--r-- 1 pi pi     329 Dec 23 22:08 usertest.sh
None of the script has Execute permission.
g. Give Execute permission to fix_permission.sh script.
pi@mypi ~/javame/bin $ chmod +x fix_permission.sh
pi@mypi ~/javame/bin $ ls -l fix_permission.sh
-rwxr-xr-x 1 pi pi 376 Dec 23 22:08 fix_permission.sh
h. Execute fix_permission.sh to fix permissions of other required scripts automatically. Once done, you don't have to use sudo to run a script.
pi@mypi ~/javame/bin $ ./fix_permission.sh
sets +x for all .sh
sets +x for runMidlet
change owner of runMidlet
set suid flag for runMidlet
pi@mypi ~/javame/bin $ ls -l
total 4748
-rwxr-xr-x 1 pi   pi       376 Dec 23 22:08 fix_permission.sh
-rwxr-xr-x 1 pi   pi       252 Dec 23 22:08 installMidlet.sh
-rw-r--r-- 1 pi   pi      7300 Dec 23 22:08 jwc_properties.ini
-rwxr-xr-x 1 pi   pi       152 Dec 23 22:08 listMidlets.sh
-rwxr-xr-x 1 pi   pi       232 Dec 23 22:08 removeMidlet.sh
-rwsr-xr-x 1 root root 4823912 Dec 23 22:08 runMidlet
-rwxr-xr-x 1 pi   pi       164 Dec 23 22:08 run.sh
-rwxr-xr-x 1 pi   pi       321 Dec 23 22:08 runSuite.sh
-rwxr-xr-x 1 pi   pi       329 Dec 23 22:08 usertest.sh
Verify Installation
a. Execute usertest.sh to start the Java runtime on the Raspberry Pi and to enable access to the Application Management System (AMS).
pi@mypi ~ $ cd javame/bin
pi@mypi ~/javame/bin $ ./usertest.sh
b. Start Developer Agent Program using util/proxy.jar on the Desktop.
C:\oracle-jmee-8-1-rr-raspberrypi-linux-bin\util>java -jar proxy.jar -socket 192.168.2.100
Trying to open socket connection with device: 192.168.2.100:2201
Connected to the socket: Socket[addr=/192.168.2.100,port=2201,localport=62605]
Open channel 8 with hash 0x29a903c5
Channel 8 CLOSED -> OPENED
notifyResponse AVAILABLE_RESPONSE on channel 8
Channel 8 OPENED -> AVAILABLE
Open channel 9 with hash 0x0
Channel 8 AVAILABLE -> REQUEST_SENT
notifyResponse ACK_RESPONSE on channel 8
Channel 8 REQUEST_SENT -> ACKNOWLEDGED
Channel 8 ACKNOWLEDGED -> DATA_SENT
notifyResponse AVAILABLE_RESPONSE on channel 8
Channel 8 DATA_SENT -> AVAILABLE
Channel 8 AVAILABLE -> REQUEST_SENT
notifyResponse ACK_RESPONSE on channel 8
Channel 8 REQUEST_SENT -> ACKNOWLEDGED
Channel 8 ACKNOWLEDGED -> DATA_SENT
notifyResponse AVAILABLE_RESPONSE on channel 8
Channel 8 DATA_SENT -> AVAILABLE
Channel 8 AVAILABLE -> REQUEST_SENT
notifyResponse ACK_RESPONSE on channel 8
Channel 8 REQUEST_SENT -> ACKNOWLEDGED
Channel 8 ACKNOWLEDGED -> DATA_SENT
notifyResponse AVAILABLE_RESPONSE on channel 8
Channel 8 DATA_SENT -> AVAILABLE
Channel 8 AVAILABLE -> REQUEST_SENT
notifyResponse ACK_RESPONSE on channel 8
Channel 8 REQUEST_SENT -> ACKNOWLEDGED
Channel 8 ACKNOWLEDGED -> DATA_SENT
notifyResponse AVAILABLE_RESPONSE on channel 8
Channel 8 DATA_SENT -> AVAILABLE
Channel 8 AVAILABLE -> REQUEST_SENT
notifyResponse ACK_RESPONSE on channel 8
Channel 8 REQUEST_SENT -> ACKNOWLEDGED
Channel 8 ACKNOWLEDGED -> DATA_SENT
notifyResponse AVAILABLE_RESPONSE on channel 8
Channel 8 DATA_SENT -> AVAILABLE
Channel 8 AVAILABLE -> REQUEST_SENT
notifyResponse ACK_RESPONSE on channel 8
Channel 8 REQUEST_SENT -> ACKNOWLEDGED
Channel 8 ACKNOWLEDGED -> DATA_SENT
notifyResponse AVAILABLE_RESPONSE on channel 8
Channel 8 DATA_SENT -> AVAILABLE
Channel 8 AVAILABLE -> REQUEST_SENT
notifyResponse ACK_RESPONSE on channel 8
Channel 8 REQUEST_SENT -> ACKNOWLEDGED
Channel 8 ACKNOWLEDGED -> DATA_SENT
notifyResponse AVAILABLE_RESPONSE on channel 8
Channel 8 DATA_SENT -> AVAILABLE
Channel 8 AVAILABLE -> REQUEST_SENT
notifyResponse ACK_RESPONSE on channel 8
Channel 8 REQUEST_SENT -> ACKNOWLEDGED
Channel 8 ACKNOWLEDGED -> DATA_SENT
notifyResponse AVAILABLE_RESPONSE on channel 8
Channel 8 DATA_SENT -> AVAILABLE
If everything goes well then Developer Agent Program will be able to make a connection with Raspberry Pi.
Note: All communications to or from the Raspberry Pi are done through Developer Agent Program.
c. To cross check, if we stop the AMS in Raspberry Pi, we'll see following output in the command prompt.
Close channel 9 notifyResponse CLOSED_RESPONSE on channel 8 Channel 8 AVAILABLE -> CLOSED Close channel 8 EOFcount | bytes
Total bytes received | 1,748 channel records 30 | 1,432 profiling records 0 | 0 packet headers 26 | 312
method entry 0 | 0 method exit 0 | 0 new objects 0 | 0 new methods 0 | 0 (+Symbols) new classes 0 | 0 (+Symbols) GC 0 | 0 Symbols 0 | 0 new threads 0 | 0 threads switch 0 | 0 heap dump 0 | 0 misc | 0
Trying to open socket connection with device: 192.168.2.100:2201 Trying to open socket connection with device: 192.168.2.100:2201 Trying to open socket connection with device: 192.168.2.100:2201
Now start the AMS again in Raspberry Pi. This time again Developer Agent Program will make a successful connection to the Pi.
Trying to open socket connection with device: 192.168.2.100:2201
Trying to open socket connection with device: 192.168.2.100:2201
Trying to open socket connection with device: 192.168.2.100:2201
Connected to the socket: Socket[addr=/192.168.2.100,port=2201,localport=62629]
Open channel 8 with hash 0x29a903c5
Channel 8 CLOSED -> OPENED
notifyResponse AVAILABLE_RESPONSE on channel 8
Channel 8 OPENED -> AVAILABLE
Open channel 9 with hash 0x0
Channel 8 AVAILABLE -> REQUEST_SENT
:
:
Channel 8 AVAILABLE -> REQUEST_SENT
notifyResponse ACK_RESPONSE on channel 8
Channel 8 REQUEST_SENT -> ACKNOWLEDGED
Channel 8 ACKNOWLEDGED -> DATA_SENT
notifyResponse AVAILABLE_RESPONSE on channel 8
Channel 8 DATA_SENT -> AVAILABLE
This confirms both installation and configuration are done properly.